By: FilioTech Updated on: May 13, 2020
How to Install Cachet Status Page on Plesk 12 Onyx
Let me guess, you've been looking for hours on Google for "How to install Cachet on Plesk" "Cachet + Plesk" and so on but nothing really comes up, right?
If you are Tech-savvy but still finding and learning your way around Plesk and CLI, you would probably appreciate a How-To guide on how to Install Cachet, The open-source status page system on Plesk 12 Onyx on any of your domain or subdomain.
This guide highlights important steps and will work on Apache or NGINX and you will learn how to:
Setup Plesk environment (PHP and Apache & Nginx Settings)
Head over to Plesk, and navigate to Tools & Settings / General Settings / PHP settings and make sure your Plesk has installed at least PHP 7.1 and is enabled for FastCGI application and FPM application. (Depends if you running Apache or NGINX)
Next, head over to your chosen domain or subdomain (where you want Cachet to be installed), go to Apache & Nginx Settings and depends on your configuration Select the following:
For Apache: enable Proxy mode and Smart static files processing by Apache.
For NGINX: Disable Proxy mode and inside Additional nginx directives paste following redirect:
# Cachet Redirect
if (!-e $request_filename) { rewrite ^.* /index.php break; }
Select PHP support version 7.1.X and run as FastCGI application for (Apache) or FPM application served by NGINX (NGINX)
Setup Web Hosting Access over SSH
Select Access to the server over SSH to
/bin/bash
Setup MYSQL
Head over to your domain (or subdomain} and navigate to Databases.
Add new Database and again, make sure you make a note of it as we are going to need this for the next steps:
Database name
Database username
Password
Change CLI PHP to 7.1 (default was 5.4)
This is important step, head over to your terminal, and SSH to your server as root user
ssh root@X.X.X.X.X and if you type
# php -v The easiest way to do that is by Following this article from Plesk Support
How to specify PHP version on the Plesk server for command line command "php" for user
In SSH switch to system user of subscription (example_user). Add the line to .bashrc file:
# su example_user <br /># echo "alias php='/opt/plesk/php/7.1/bin/php'" >> ~/.bashrc
# exit
# su example_user
# php -v
Exit example_user by typing
#exit
Install Cachet
Great, so far so good. Now let's look at the Cachet installation files. Cachet will use Composer to install an application.
If you running Plesk 12.5 or Onyx, you already have Composer installed as one of the main Application Prerequisites.
We can use SSH CLI to install from Github
# git clone https://github.com/cachethq/Cachet.git So head over to Github Website
https://github.com/CachetHQ/Cachet
Click Download ZIP and upload into your Plesk domain name home directory.
Extract all the files, go in into Cachet-2.4 Folder, and move all the files and folders into your root directory.
Rename the .env.example file to .env and configure MYSQL details as follow:
APP_ENV=production
APP_DEBUG=false
APP_URL=http://localhost
APP_KEY=

DB_DRIVER=mysql
DB_HOST=localhost
DB_DATABASE=NAME
DB_USERNAME=USERNAME
DB_PASSWORD=PASSWORD
DB_PORT=null
DB_PREFIX=null

CACHE_DRIVER=file
SESSION_DRIVER=file
QUEUE_DRIVER=sync

CACHET_BEACON=true
CACHET_EMOJI=false

MAIL_DRIVER=smtp
MAIL_HOST=mailtrap.io
MAIL_PORT=2525
MAIL_USERNAME=null
MAIL_PASSWORD=null
MAIL_ADDRESS=null
MAIL_NAME="Demo Status Page"
MAIL_ENCRYPTION=tls

REDIS_HOST=null
REDIS_DATABASE=null
REDIS_PORT=null

GITHUB_TOKEN=null
You can check full installation manual here
https://docs.cachethq.io/docs/installing-cachet
Head over as root user using terminal and go to the Cachet Install folder:
# cd /var/www/vhosts/YOURDOMAIN.COM/httpdocs
# su example_user Type
# ls
Let's continue with the installation:
# composer install --no-dev -o --no-scripts
# php artisan key:generate
# php artisan cachet:install
# Do you want to configure Cachet before installing? (yes/no)
# n
# Do you really wish to run this command? (yes/no)
# y
# Which provider or tag's files would you like to publish?:
# 0
Changing Default Path
/httpdocs/public/
or if you using subdomain name just add /public/ at the end.
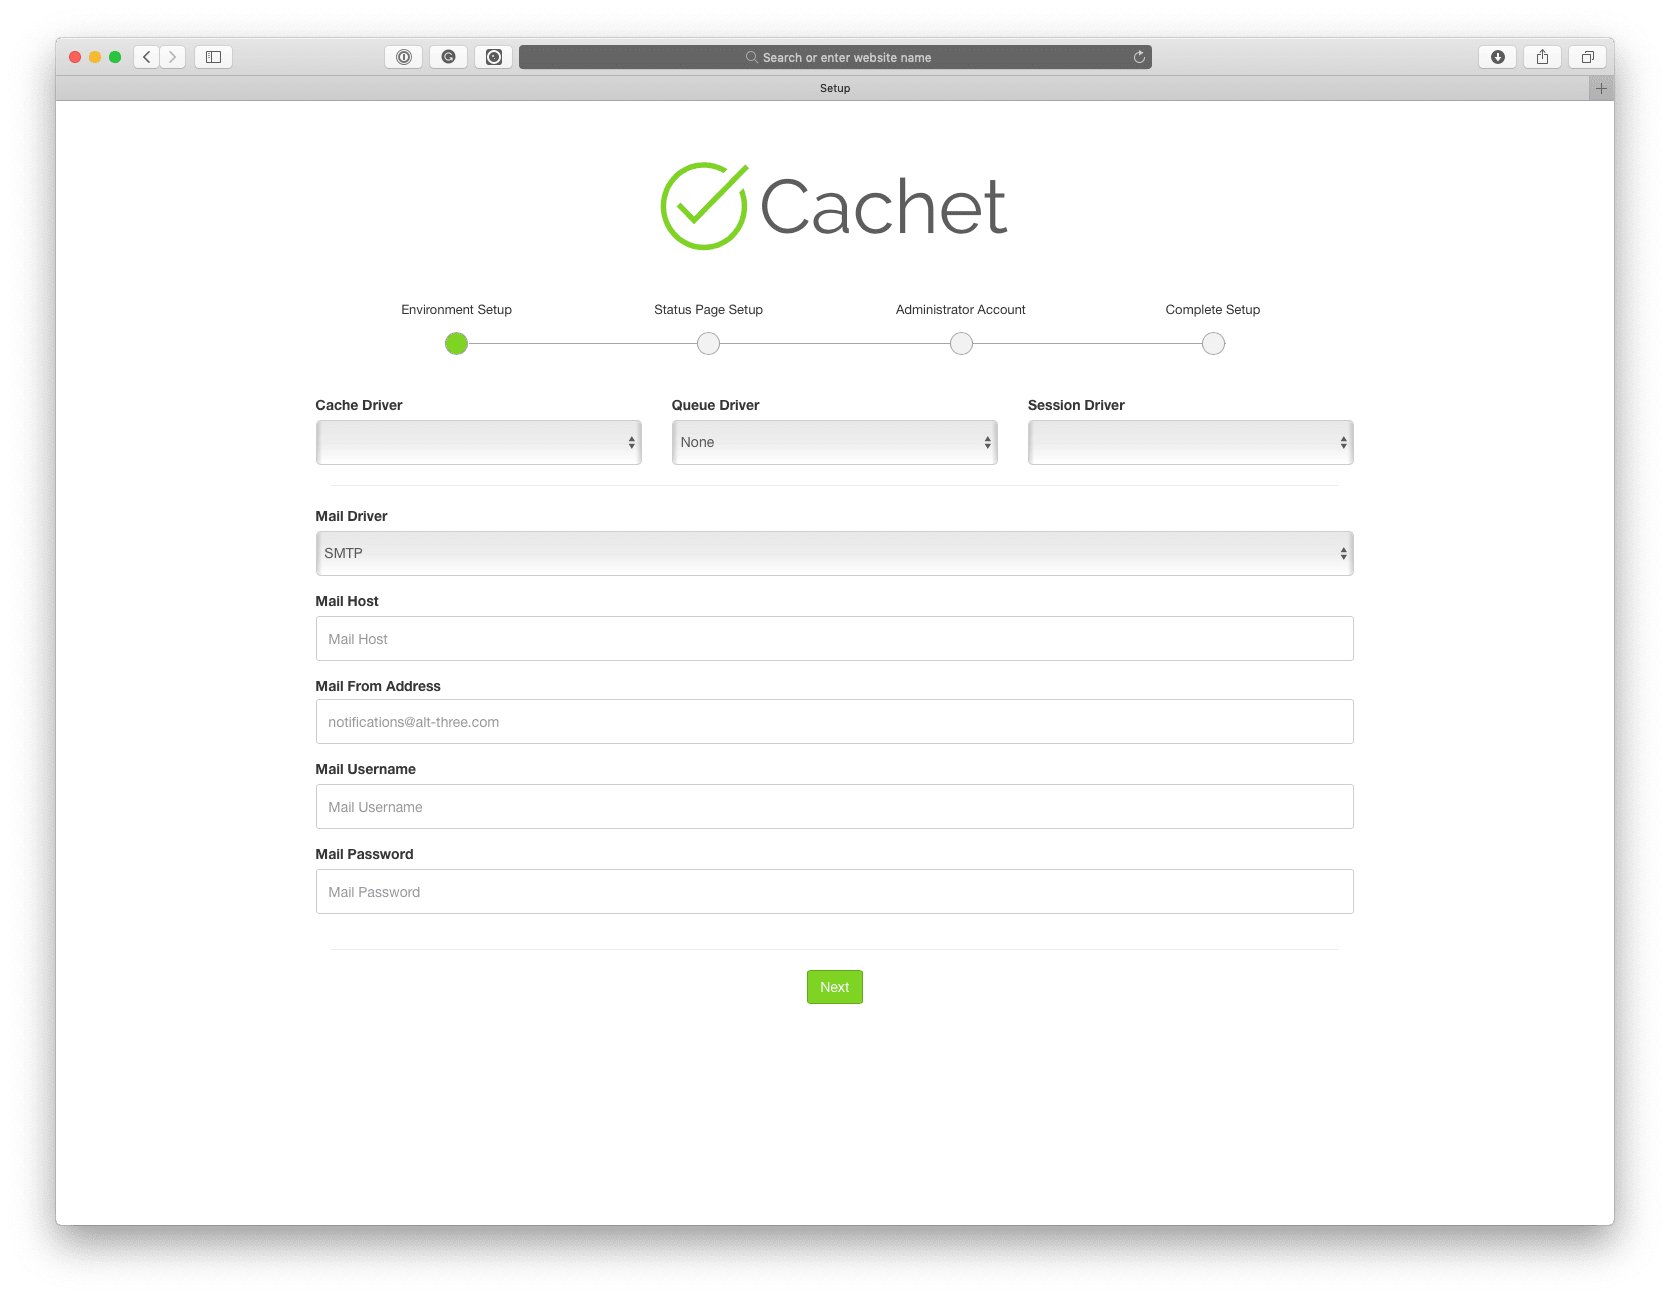
If you visit your domain name from your browser, you should see a Default Setup Page for Cachet.
Finish installation

